Instructions For Creating An Account And Depositing – Withdrawing Money On Bitmart
How do I register at BitMart?
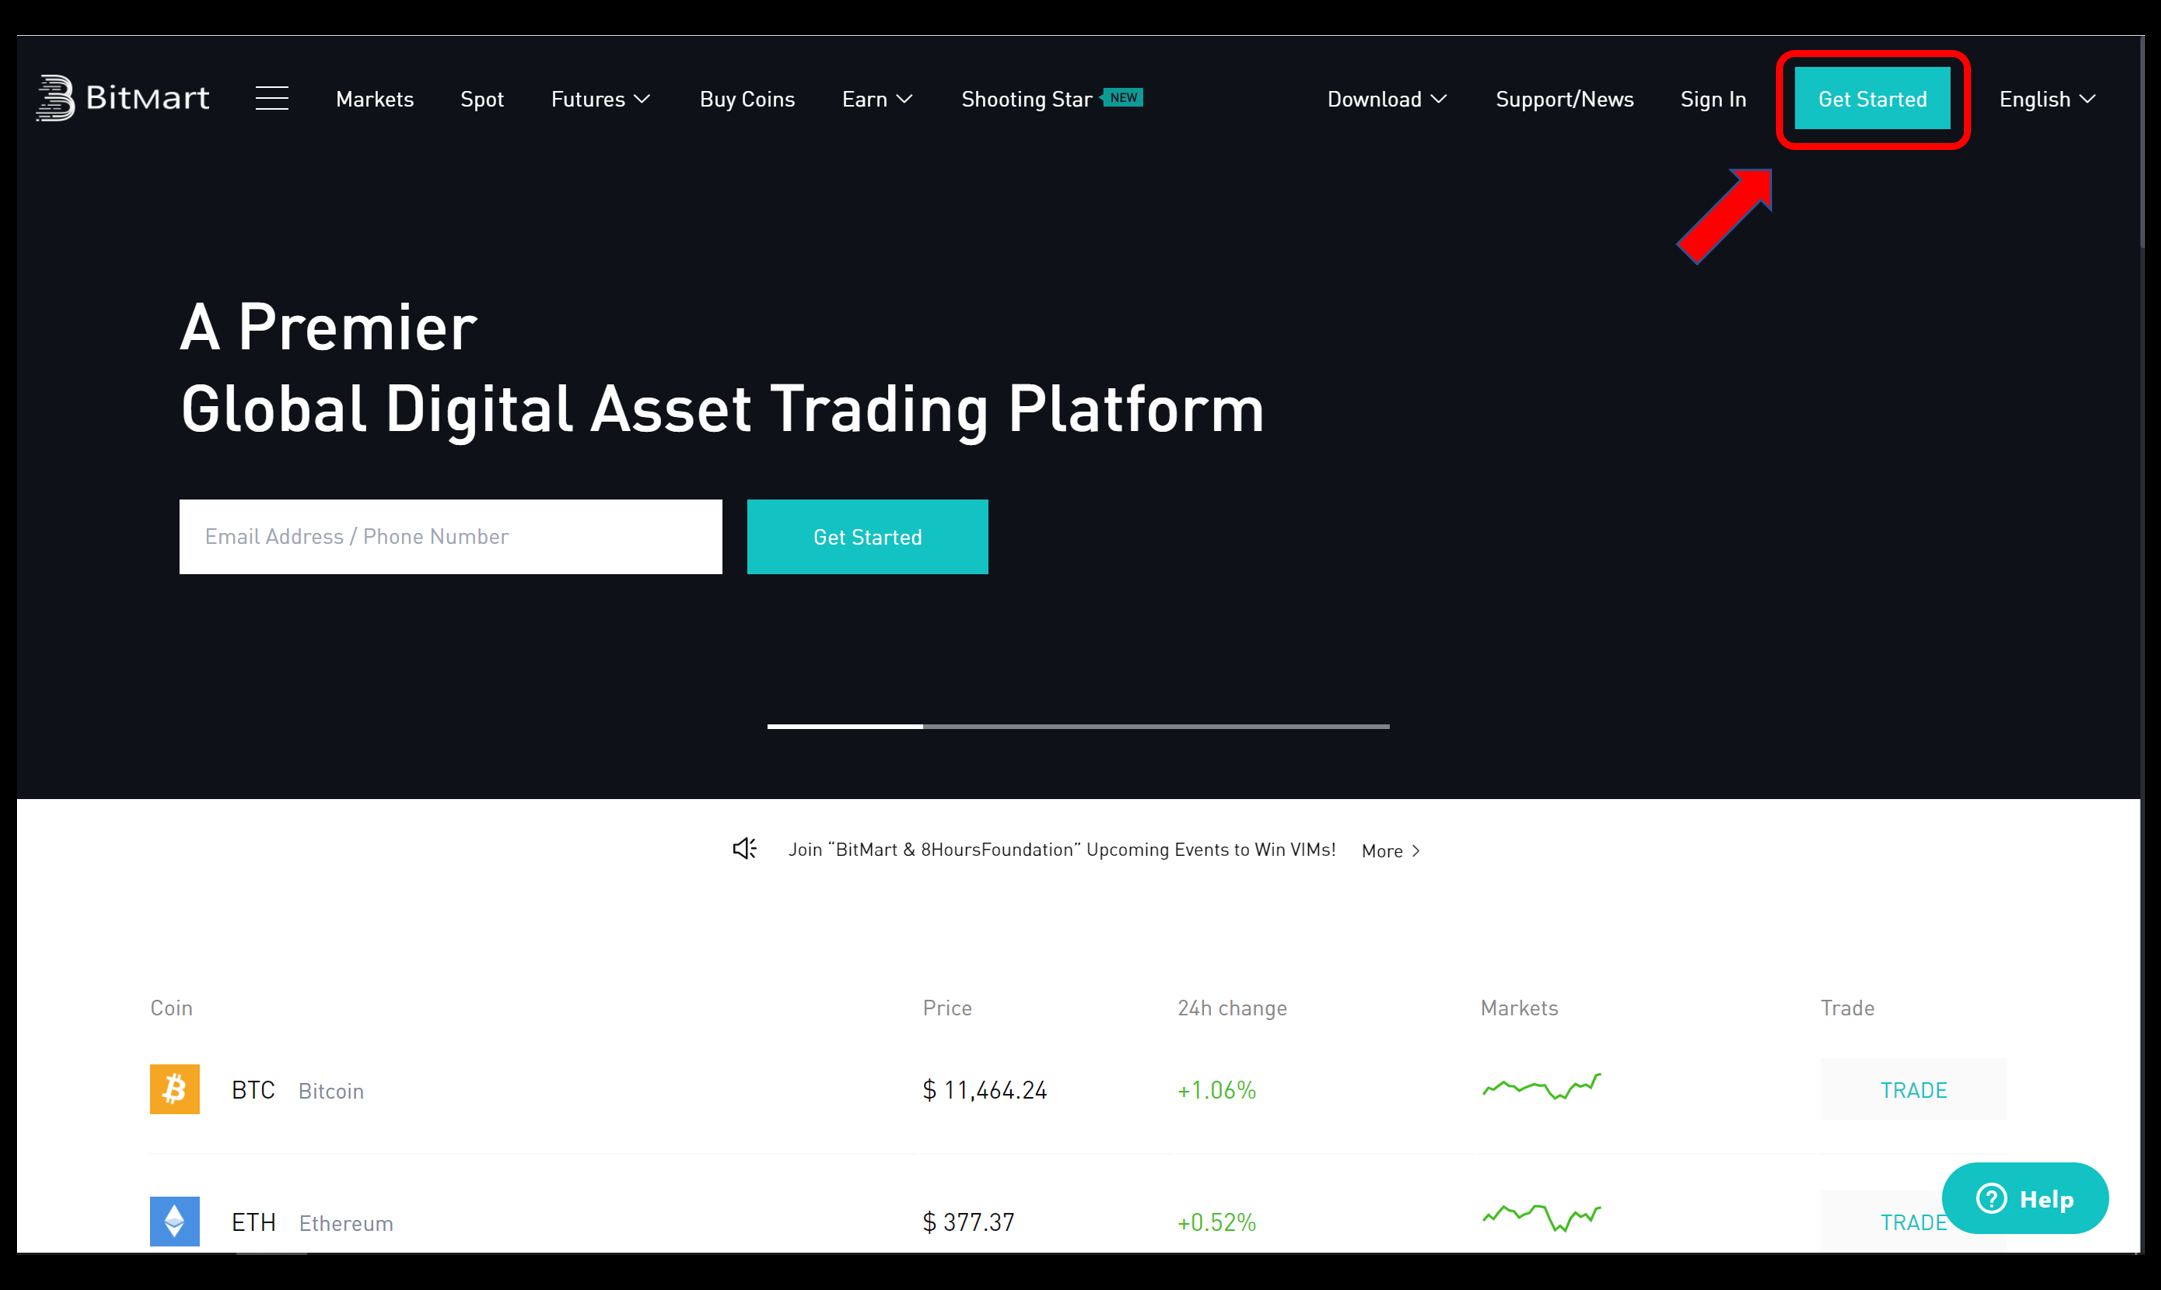
Step 1: Visit https://www.bitmart.com/ and click Get Started.
Step 2: you can either register by Email or Mobile. Here we take registering by Email as an example. Click Email.
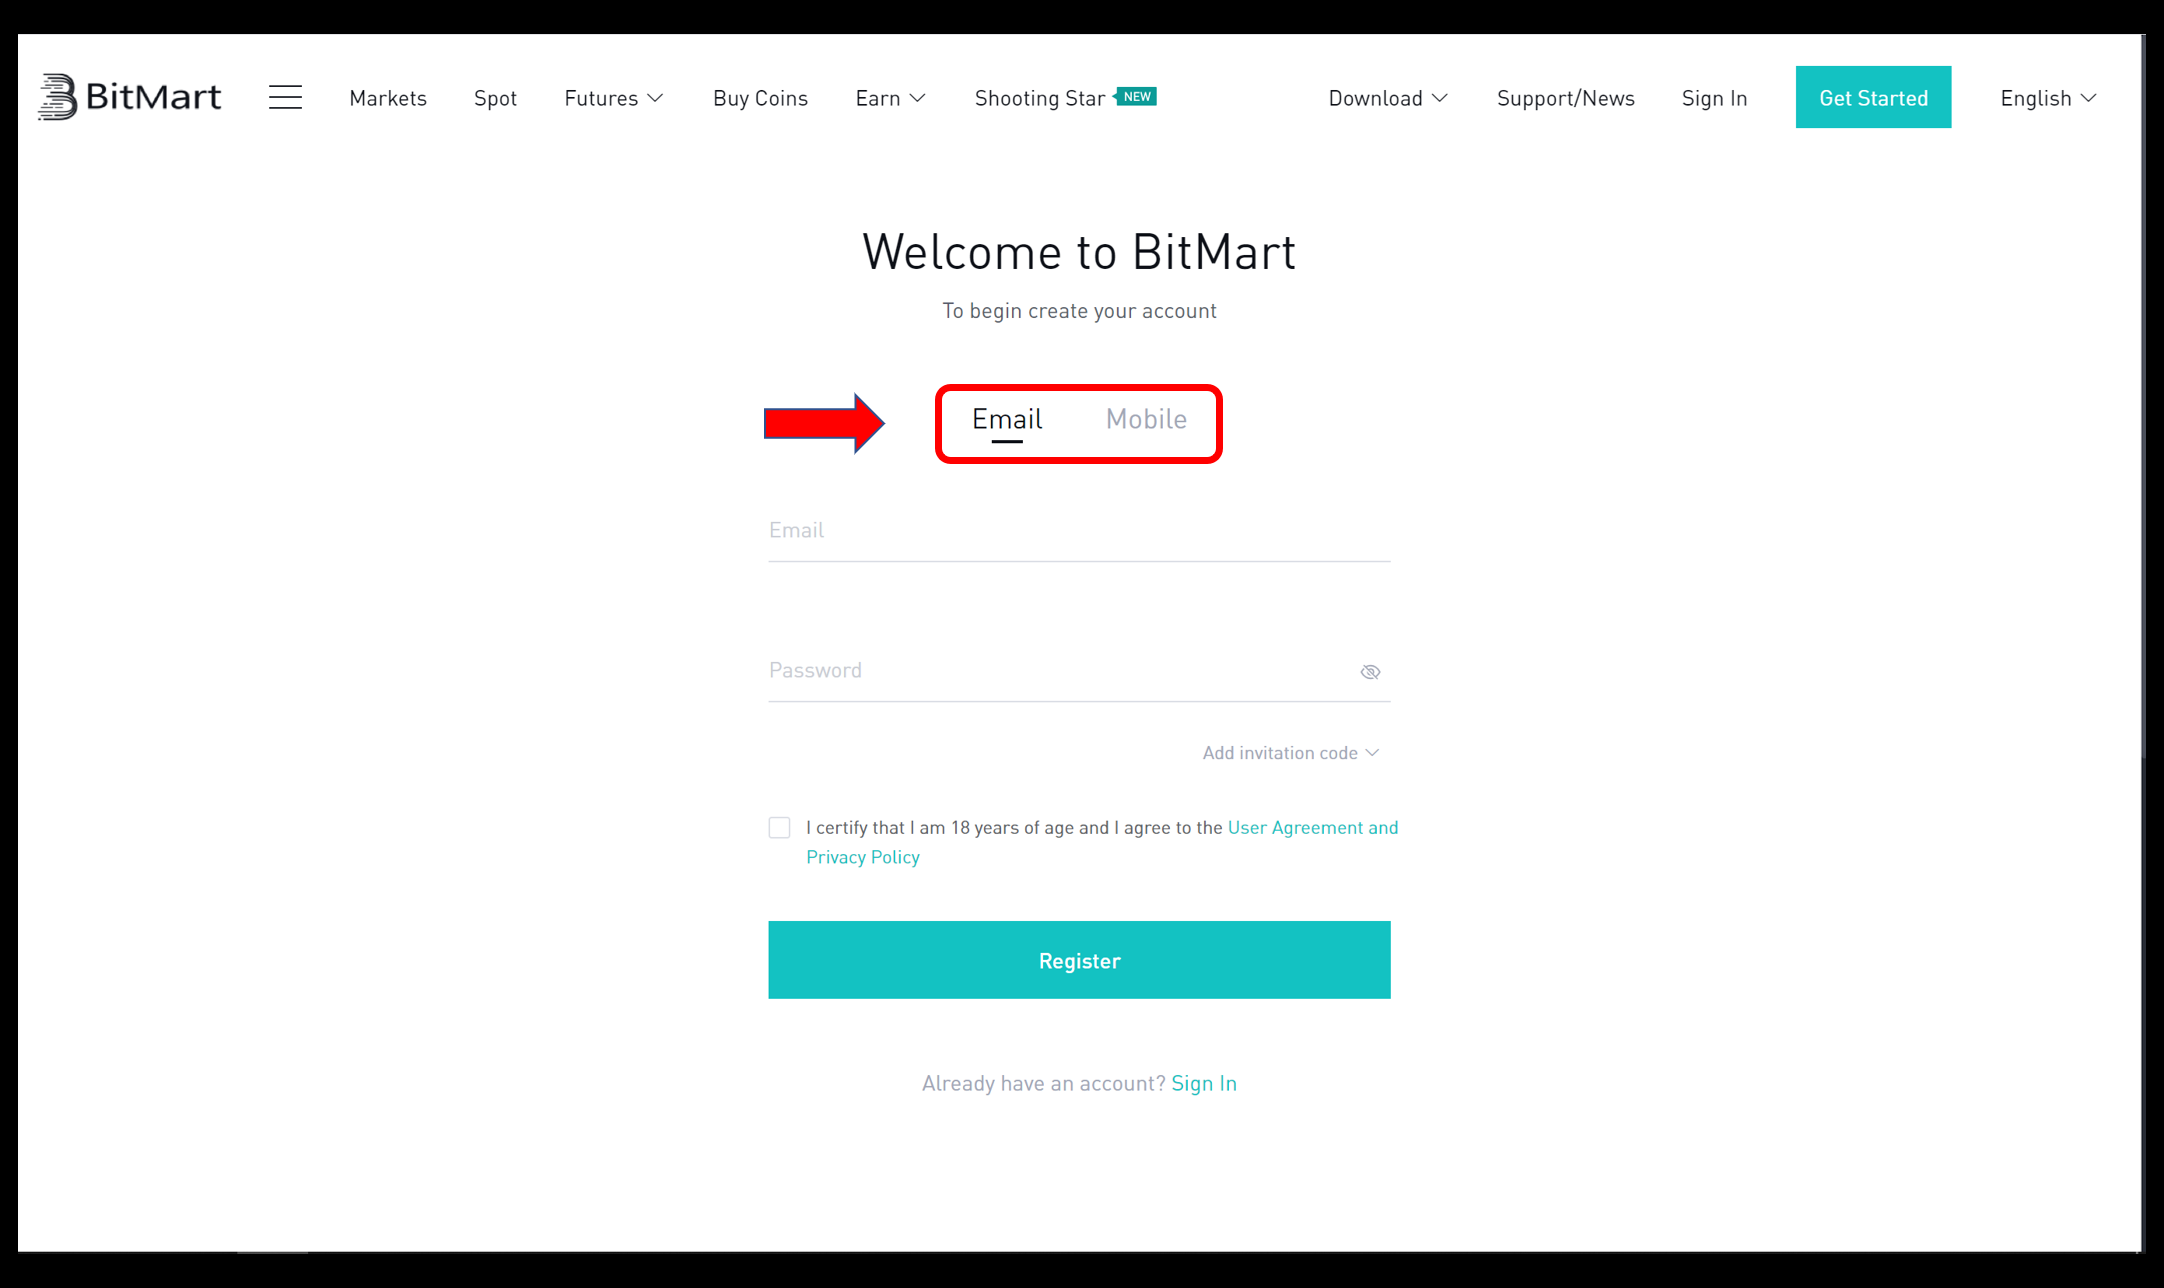
Step 3: Enter your Email address and set a login password.

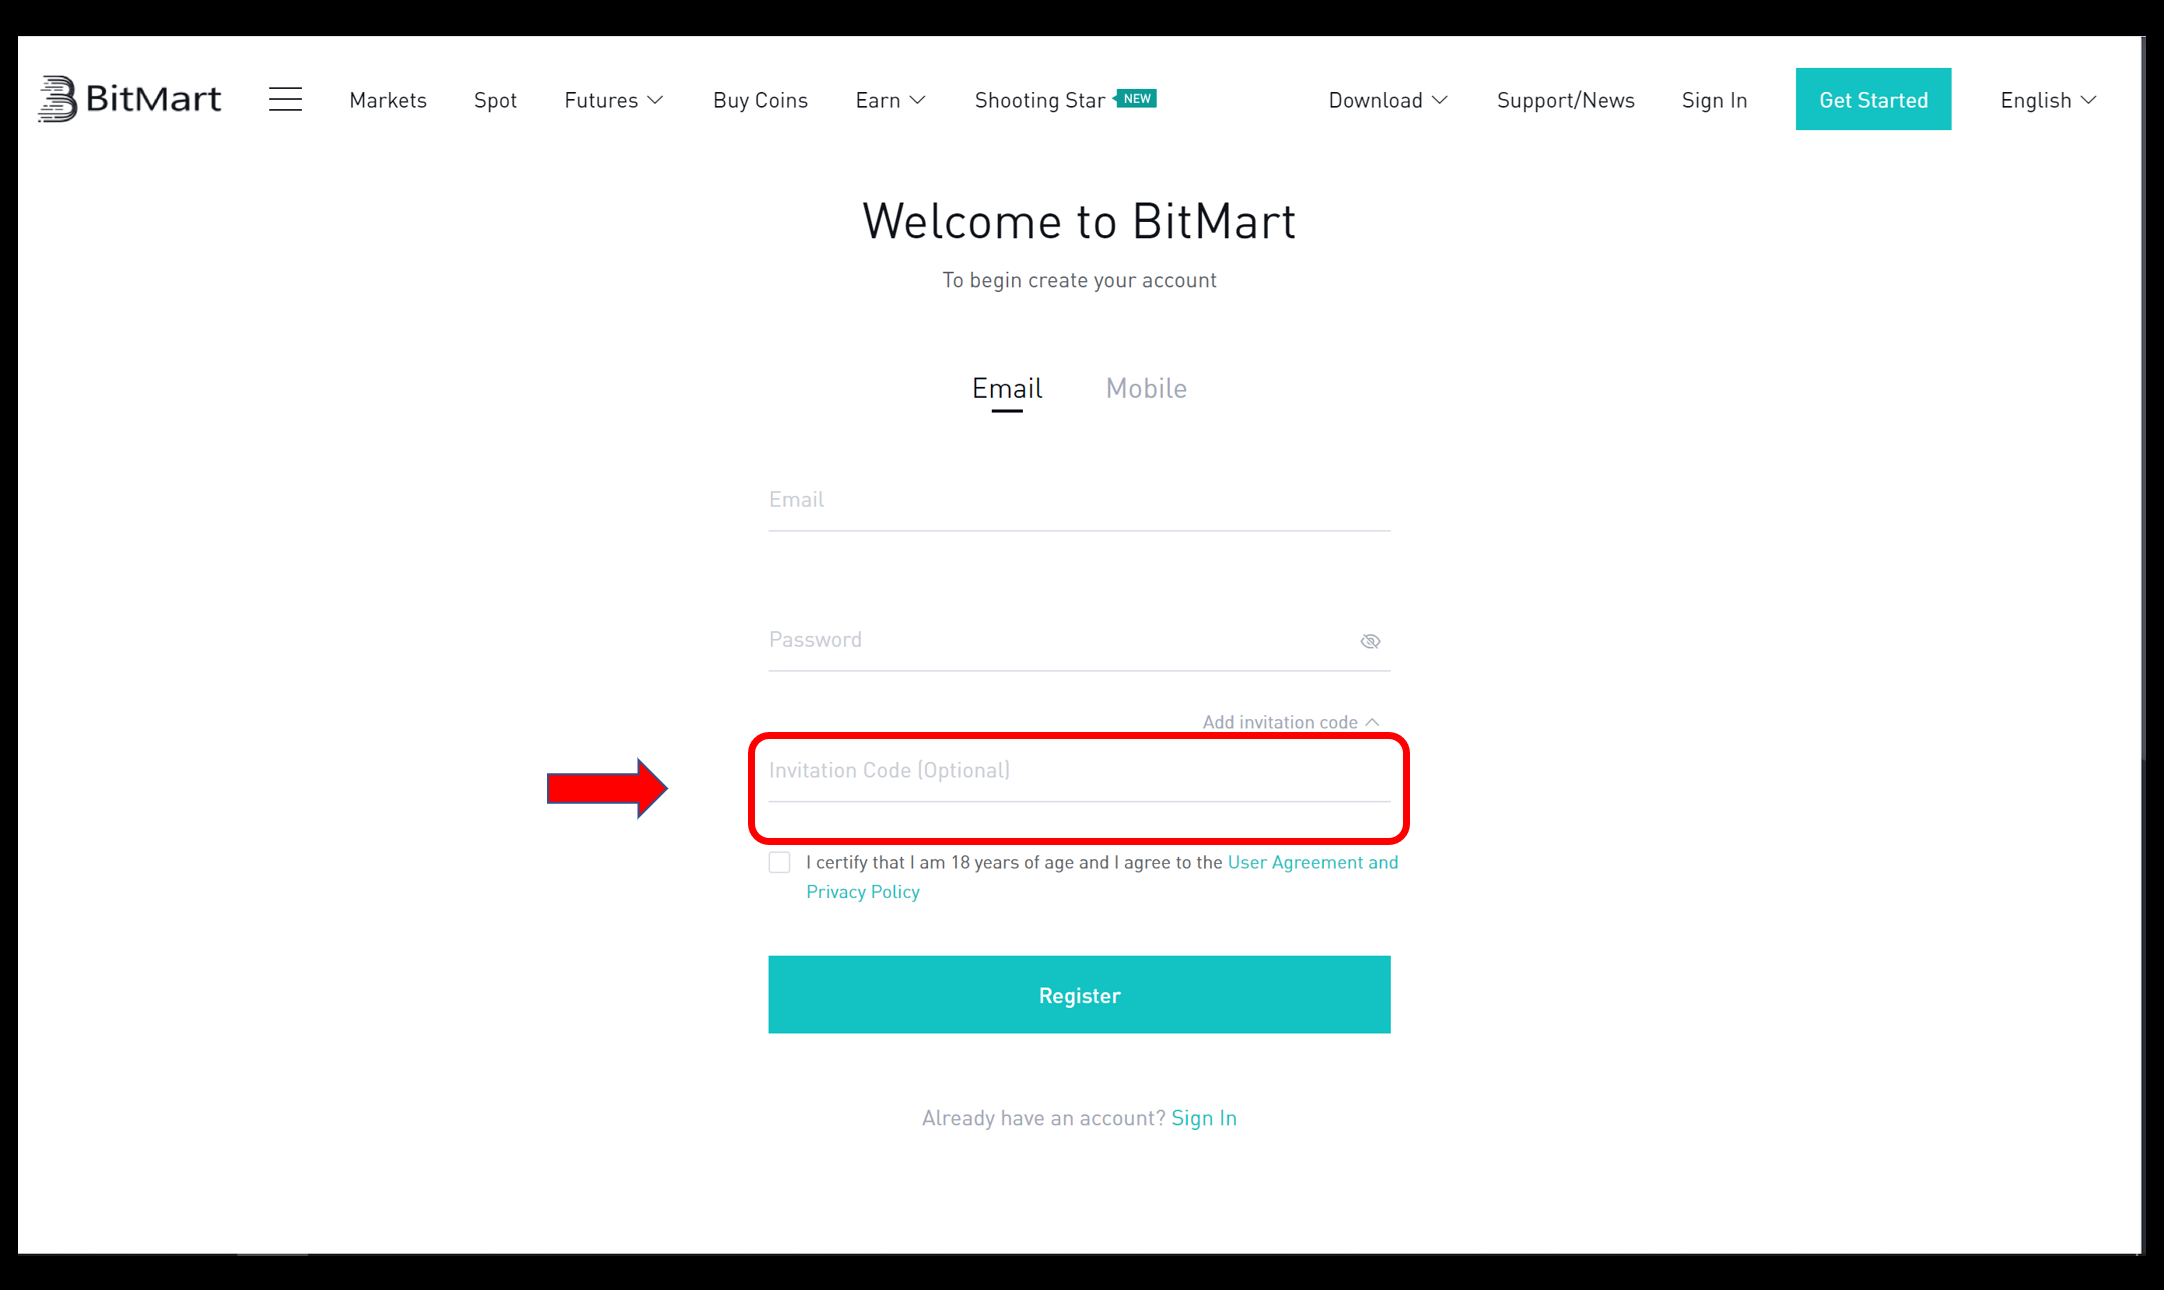
Step 4: If you are invited by others, click Add invitation code and enter your referral code. If not, just skip this section.

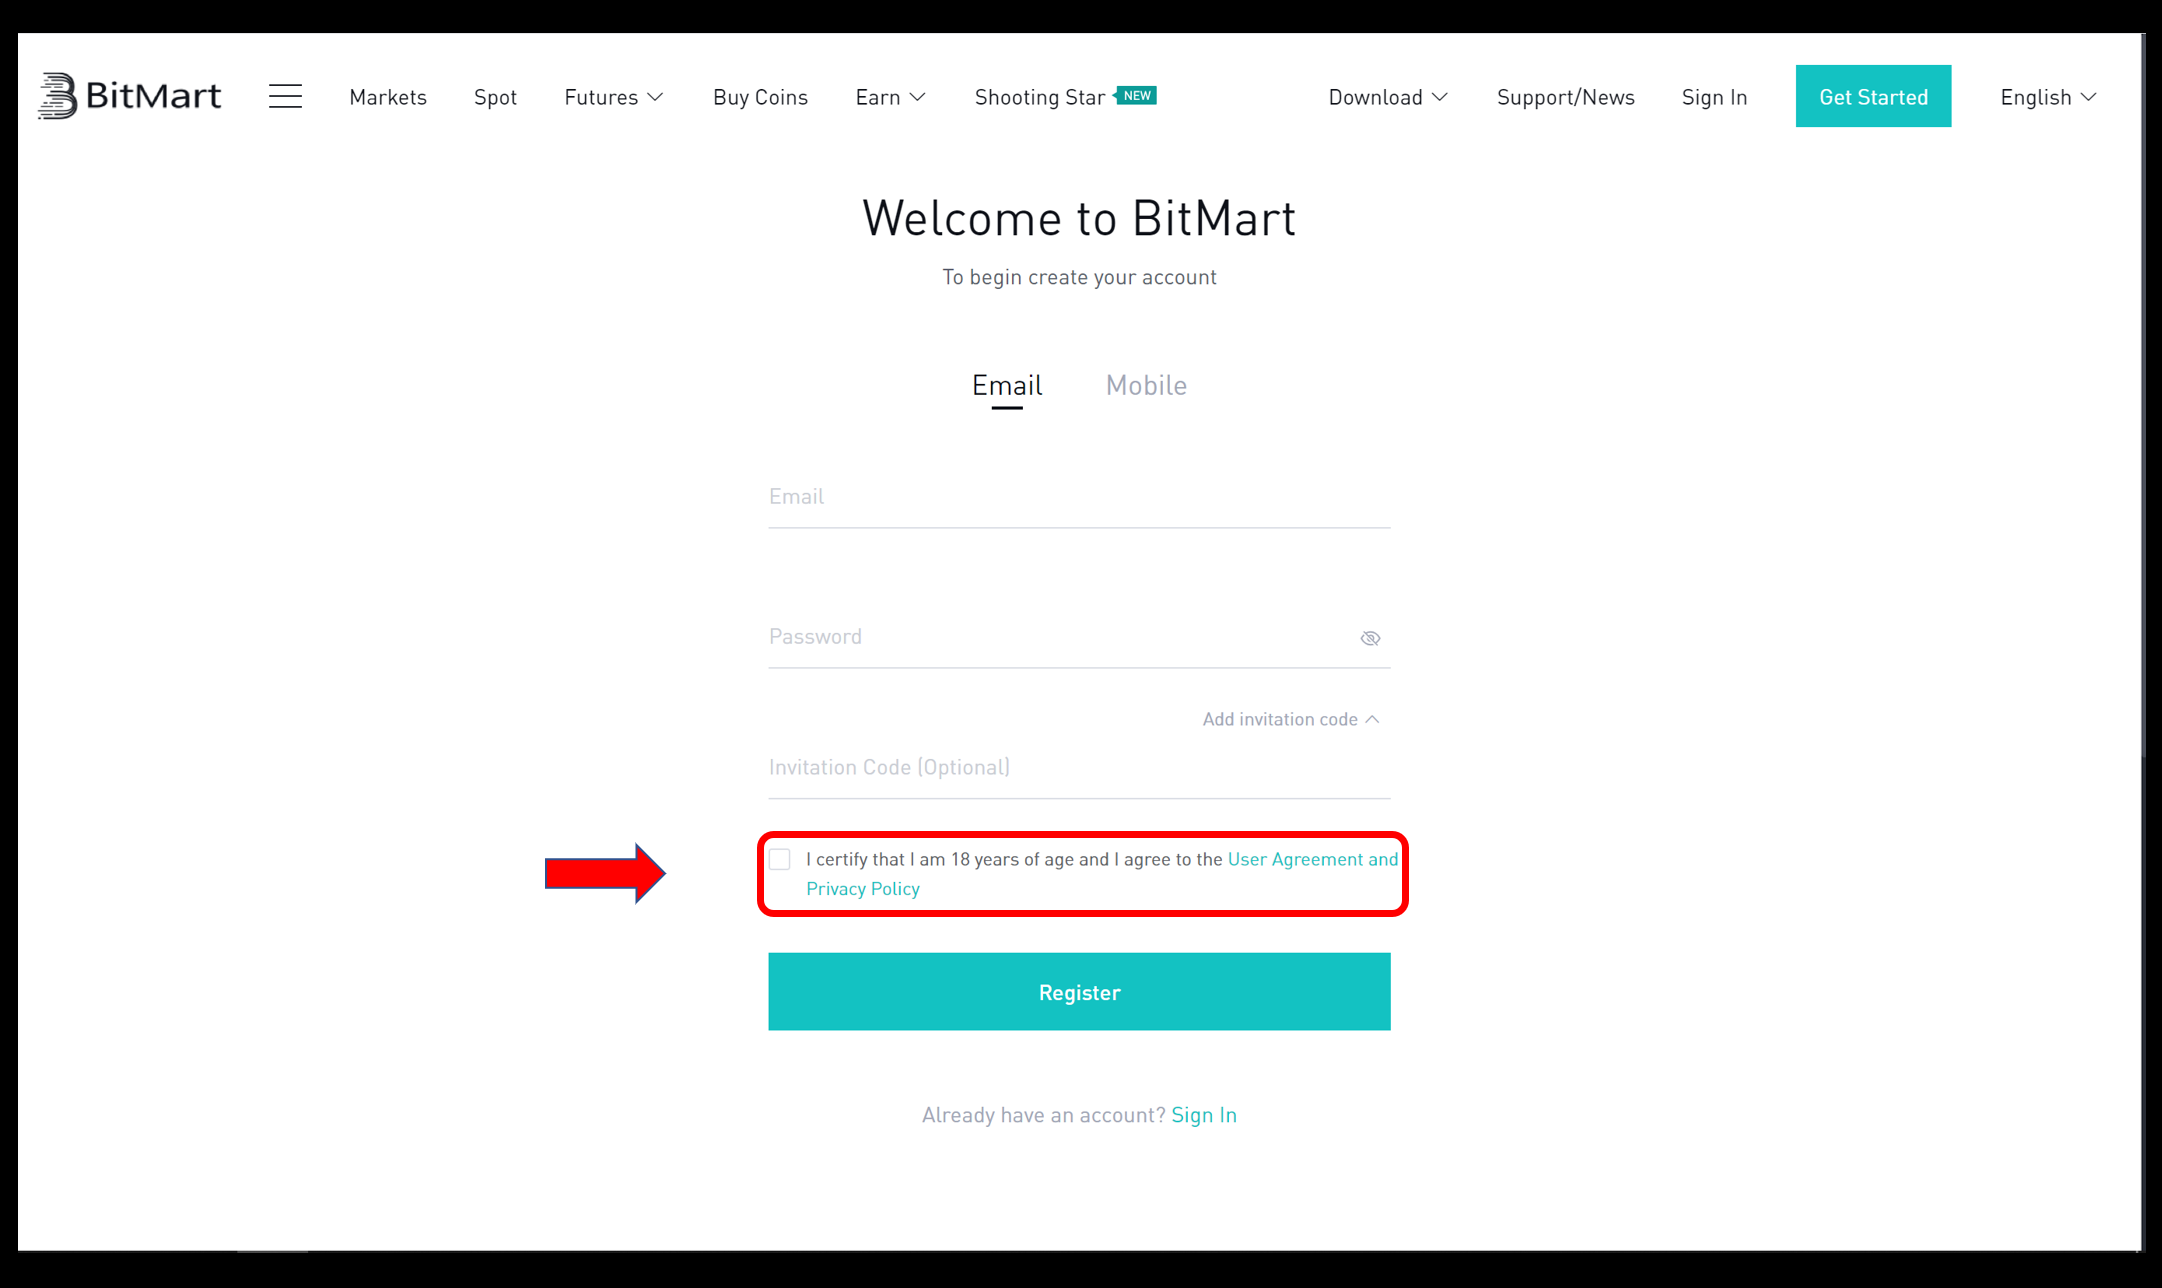
Step 5: Check User Agreement and Private Policy.
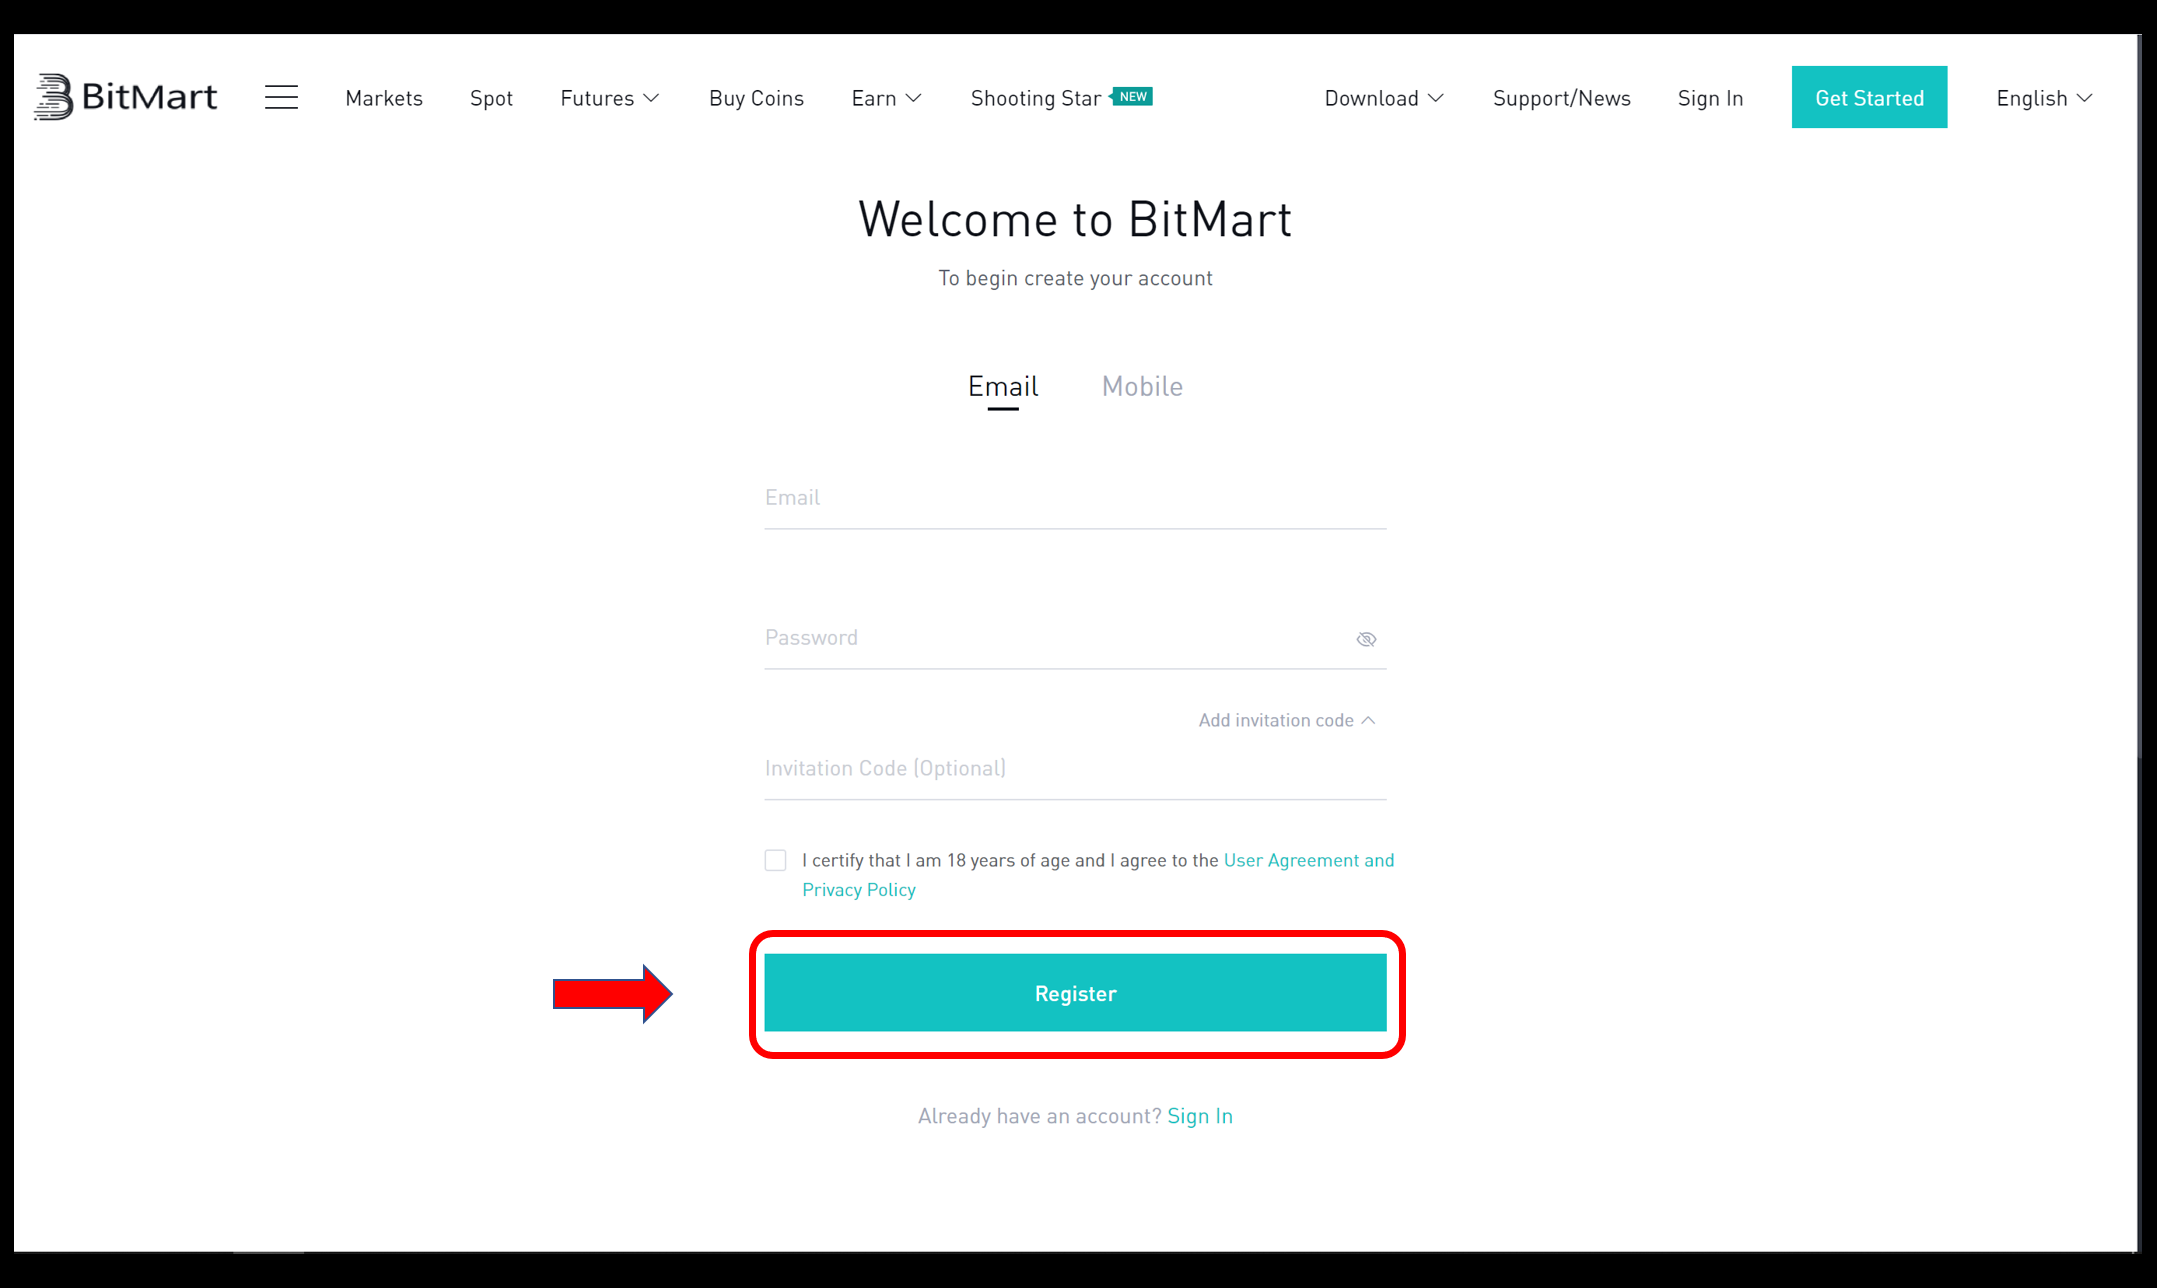
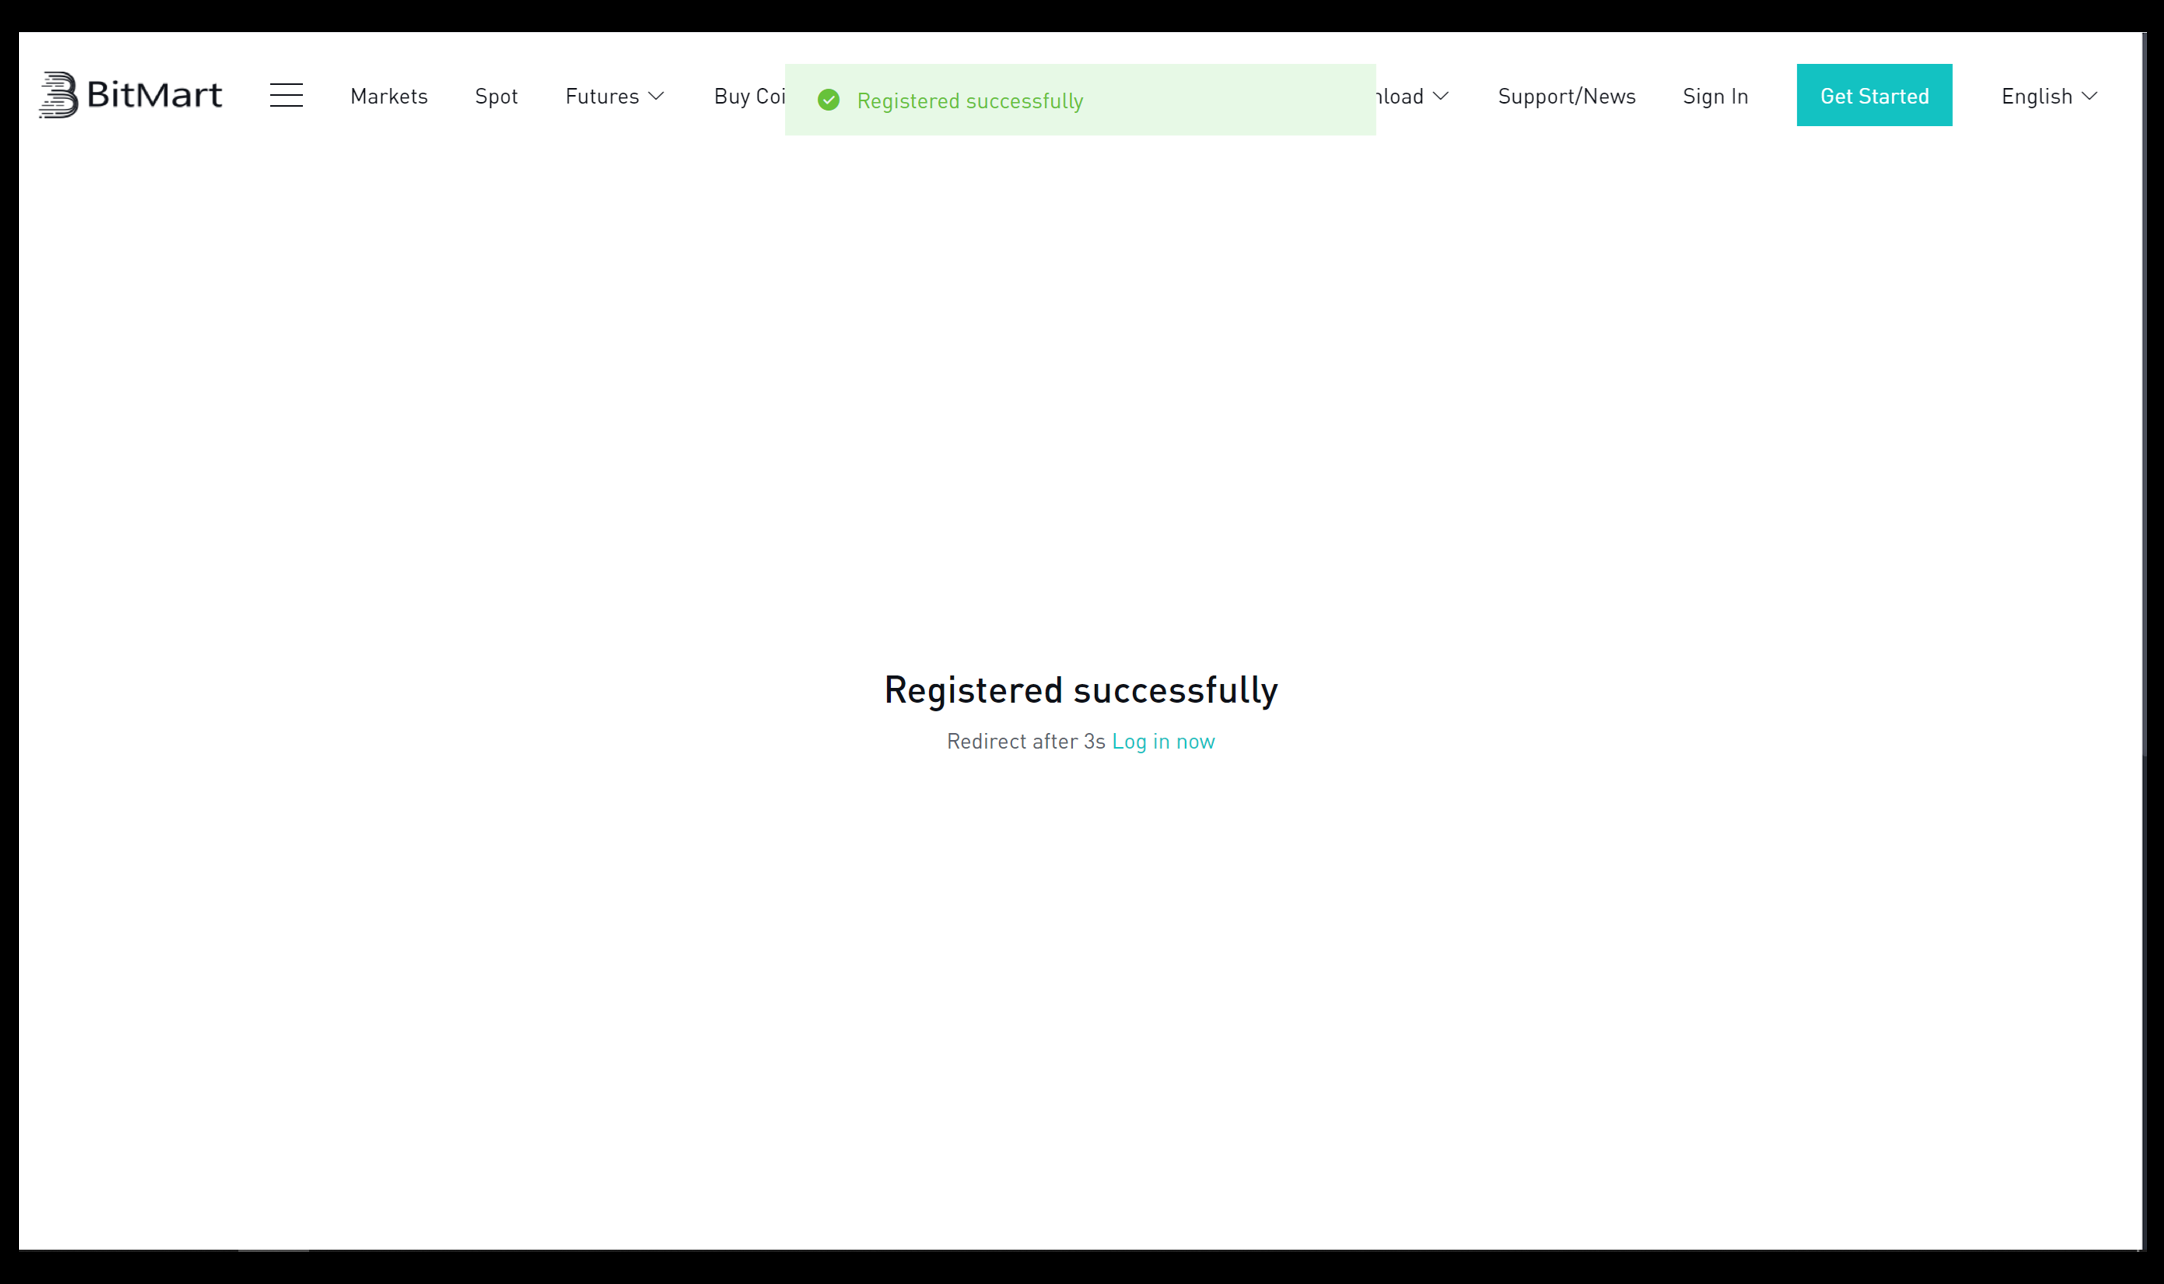
Step 6: Click Register. Then you will see the Email Verification page.
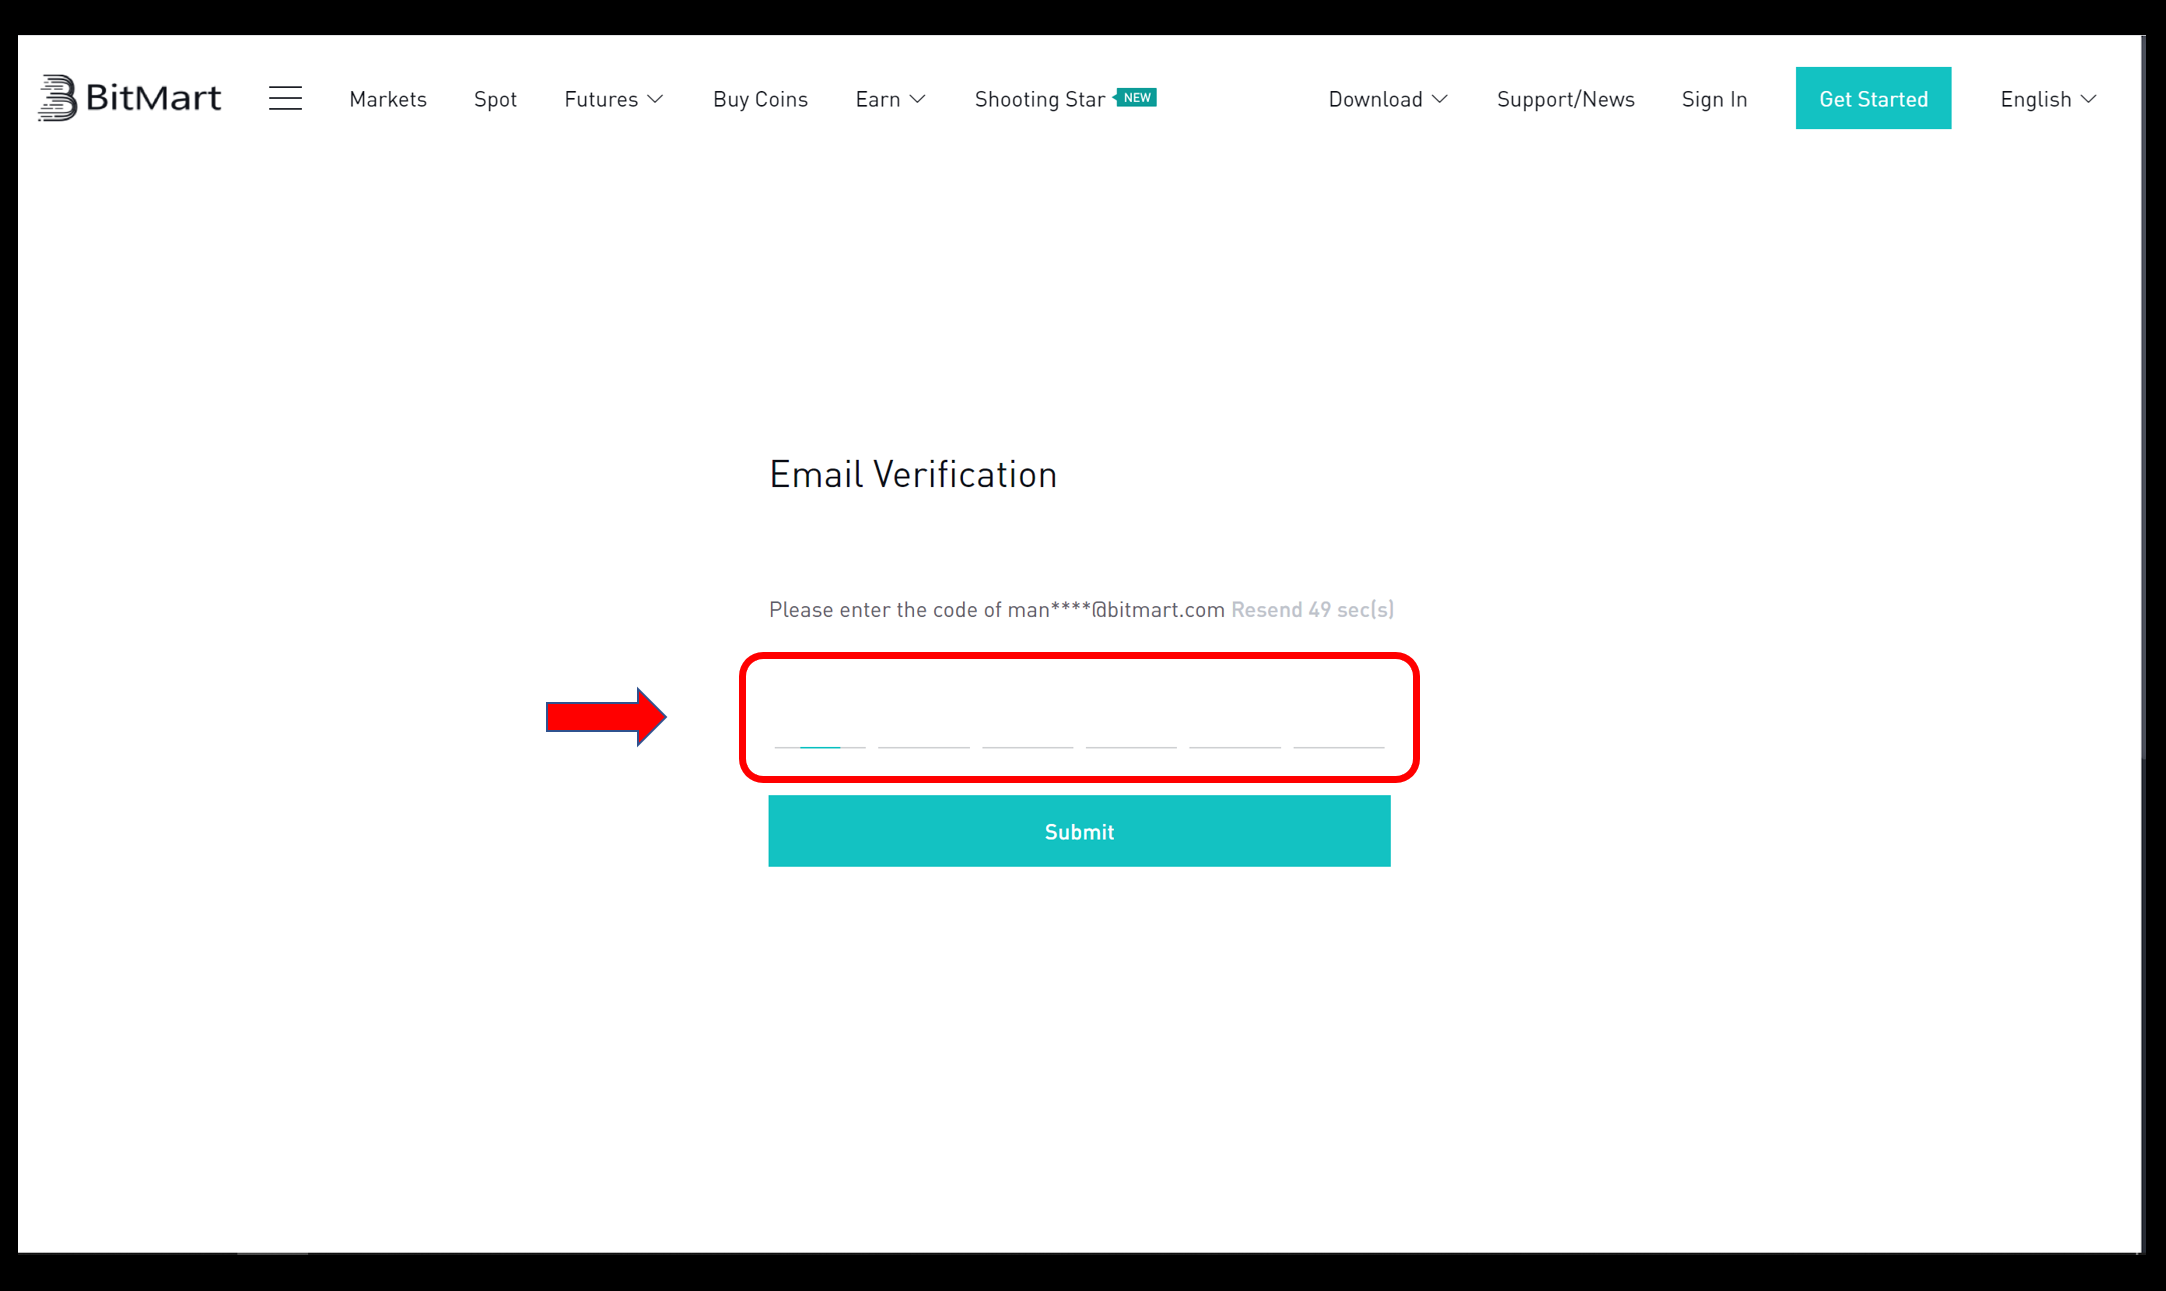
Step7: Check your registered email, and enter the six-digit Email Verification code, and click Submit.
Congrats, you are all set! Now you can access BitMart and start trading your favorite cryptos!
To better secure the security of your account and assets, we require our users to complete two-factor authentication as soon as possible.
How to set two-factor authentication?
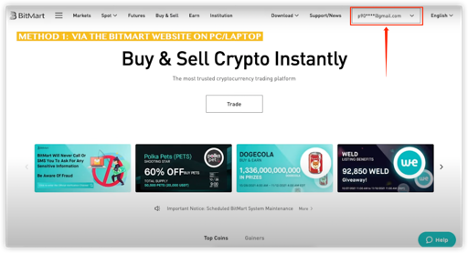
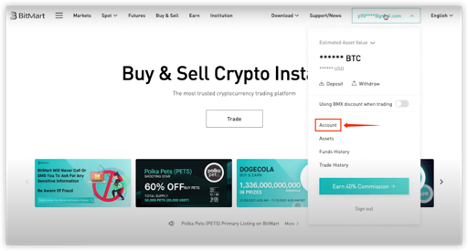
Step 1: Hover over your register email on the top right of the homepage, and you will see a drop-down menu. Click Account.

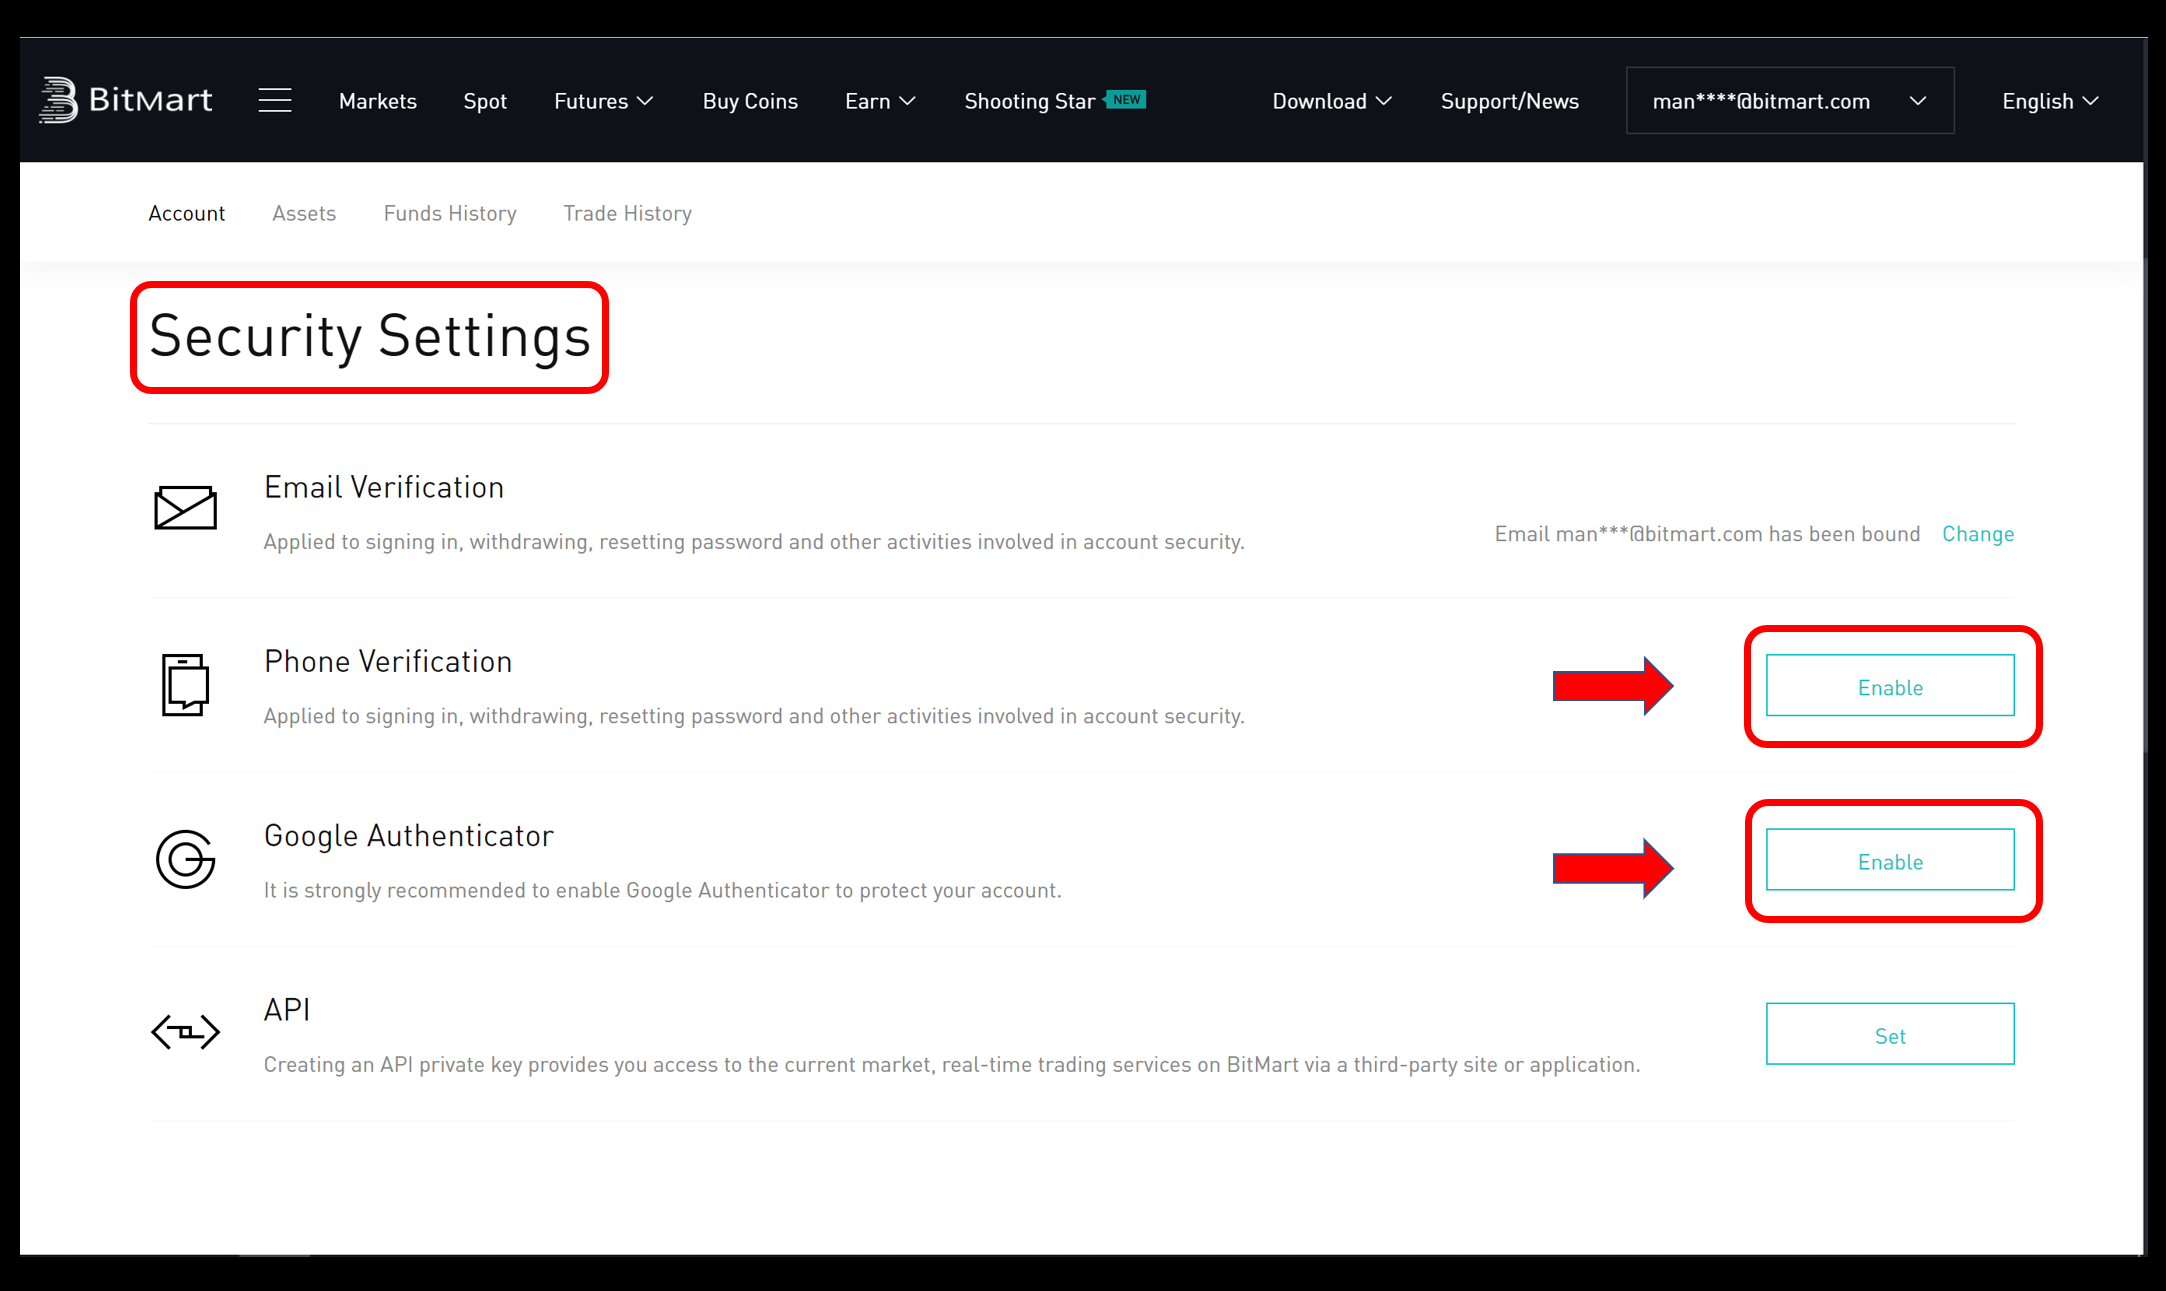
Step2: Scroll down and you can see the Security Settings section. Click Enable for Phone Verification and Google Authenticator.
Identity Verification (KYC) Tutorial
1. Use your browser to visit https://www.bitmart.com/login/en to sign in to your BitMart account. If you do not have a BitMart account, register via https://www.bitmart.com/register/en.
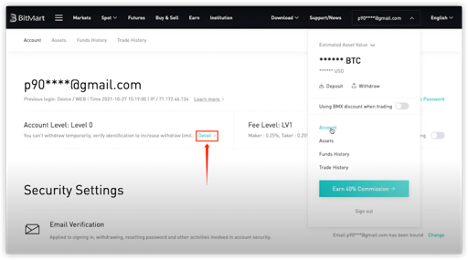
2. Go to the BitMart homepage. Move the cursor to your username (top-right corner), then you will see a drop-down menu. Click “Account”.
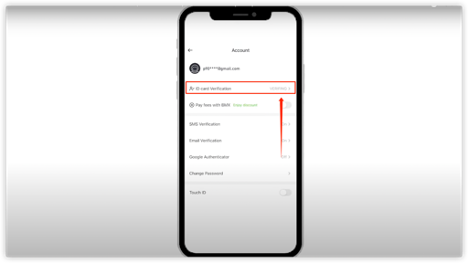
3. With an unverified account (Level 0 account), you will not be able to withdraw any assets from your BitMart account. You are required to complete the Identity Verification before your first withdrawal. Click “Detail” for more info about different account levels.
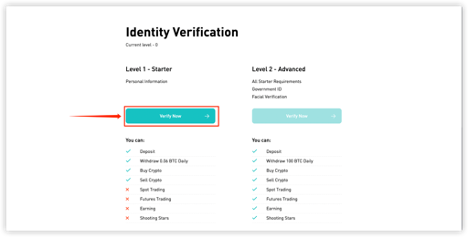
4. Click “Verify Now” to start to verify your identity.
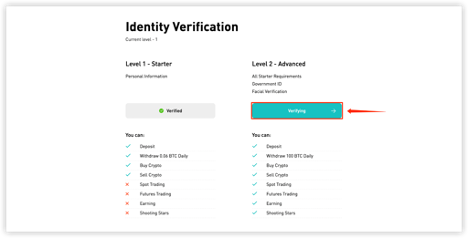
5. You will be directed to the page to finish the Level 1 – Stater verification. Please follow the instruction to fill the blanks and then click “Confirm”
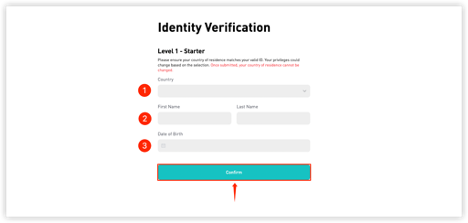
*Please note that your country and date of birth cannot be changed after your submission and should be the same on your identity documents.
6. With the Level 1 verification, you would be able to deposit, withdraw 0.06 BTC daily, buy crypto and sell crypto. However, you would not be able to trade on our platform. To become an advanced user and start trading, please click on “Continue” for the next level of verification.
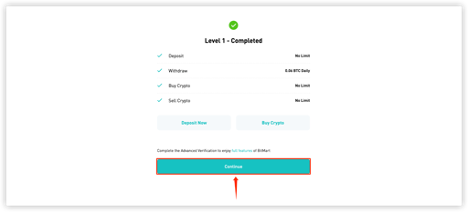
You can also come back later to begin your level 2 verification from the previous “Identity verification” page.
7. By starting the level 2 verification, you would be directed to a QR code.

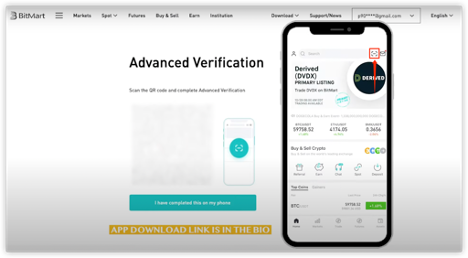
8. Please prepare your BitMart Mobile App on your phone. If you haven’t got the app, please download them from the link on the Bio page of your account.
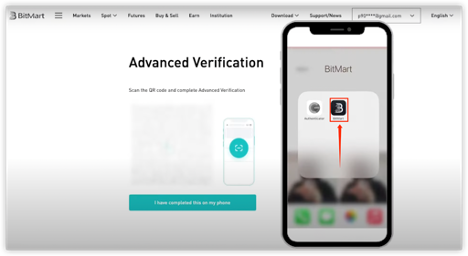
9. Click on the scanner next to the research box, and then scan the QR code that appeared on your screen.
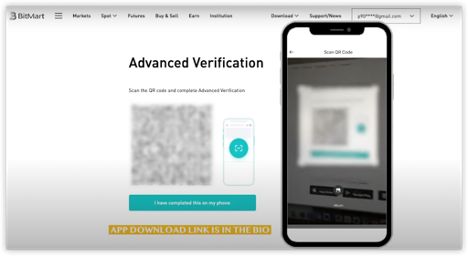
*The QR code is time-sensitive. Please go back to the previous page and re-enter to get the updated QR code if past the time.
10. After the scanning, you would be directed to a new page, choose the country and one type of document to submit.

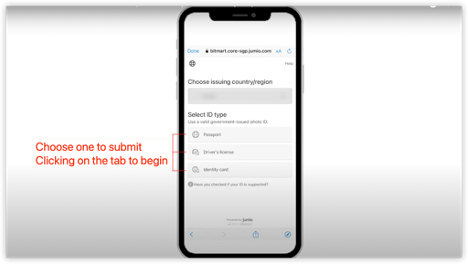
* Please notice that the country on your ID and your previous Level 1 verification should be the same.
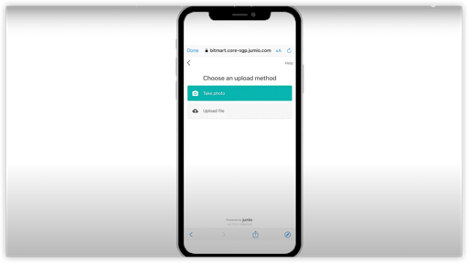
11. After choosing the type of ID to upload, you have two methods to submit it. Click on the one you would like to select and follow the instructions.
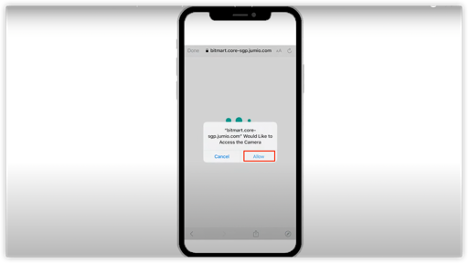
* It might require permission to access your device camera. Please click on “Allow” to continue.
12. After taking a photo of your ID or uploading your copy of ID, please check the photo, make sure it is clear and complete, then click on the “Confirm” to submit.
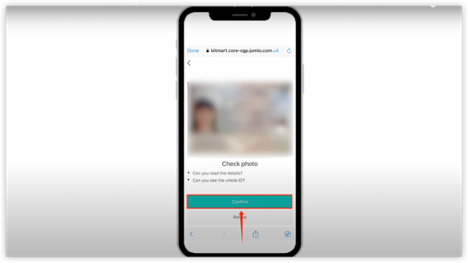
* Please do not refresh or exit the page when it is still uploading, or your uploading would be fail
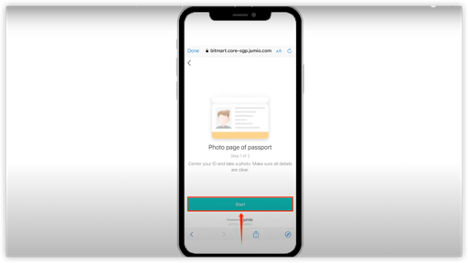
13. You would enter into the face verification. Please click “Start” to begin.
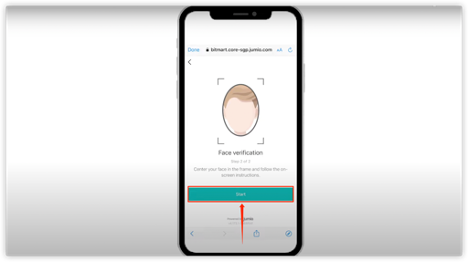

* It might require permission to access your device camera. Please click on “Allow” to continue.
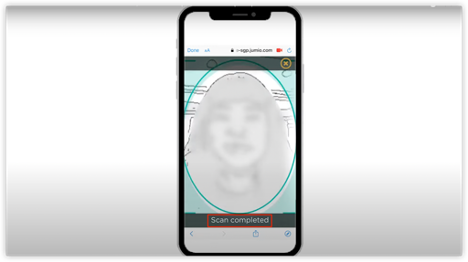
14. Face your inside camera and move according to the hint that appears right below the oval frame until you get “Scan Completed”.
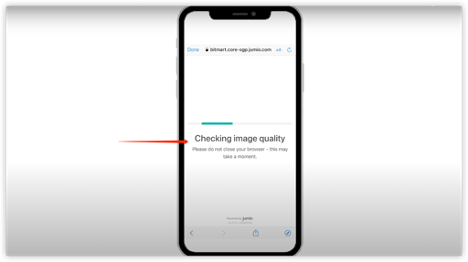
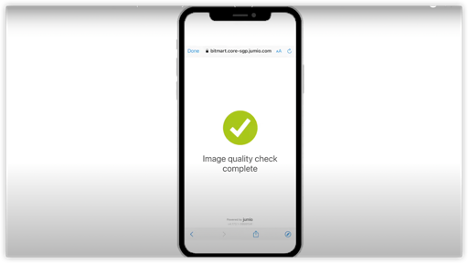
15. Wait for the uploading and image quality checking to complete. Please do not refresh or close the window before the process is completed.
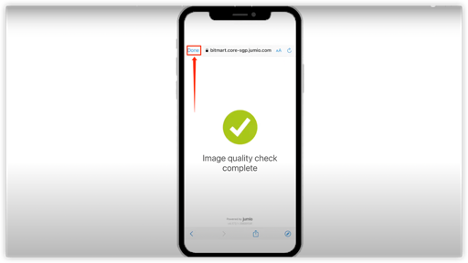
16. After the whole process is completed, please click “Done” to finish the process.
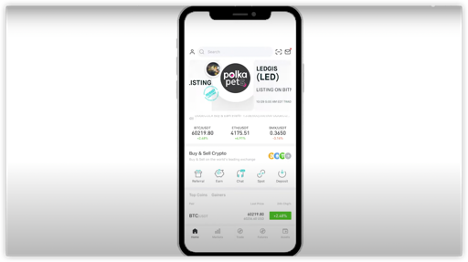
17. Get back to the Beginning page, and check your status in your profile.
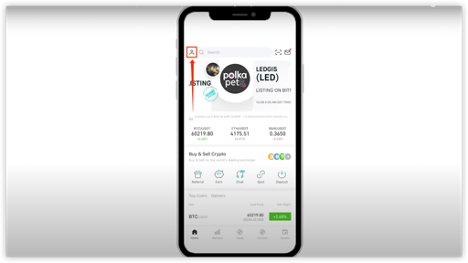

18. When it shows “Verifying”, that means your verification has been uploaded and under the checking. The process might take 24 hours to confirm.

19. When the process is completed, your profile will be updated automatically, and you will become our advanced user!
How to Deposit?
Deposit means to transfer crypto from wallets or accounts on other platforms to the account in BitMart. Please follow the procedures if you need to deposit from other platforms to BitMart.
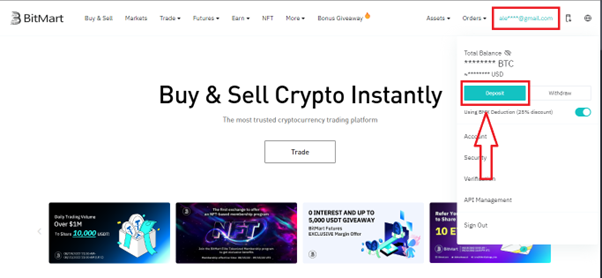
1. After login, set your mouse on your email – click Deposit.
2. Select the crypto and click Deposit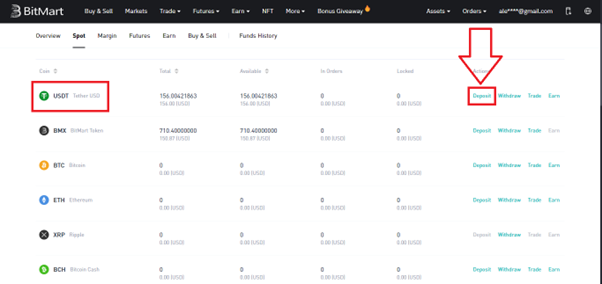
3. Choose the network(TRC 20), copy or scan the address in the sender platform.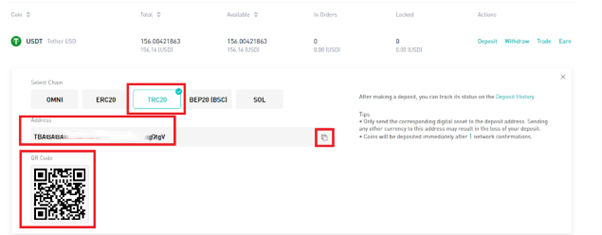
4. Open the withdrawal page of the corresponding platform, select USDT, and paste the USDT address copied from your BitMart account in Step 3 (or scan the saved QR code). Please pay extra attention when selecting withdrawal networks – keep consistent between the networks, i.e., if you select USDT-TRC20 as the USDT deposit network in your BitMart account, you must also select USDT-TRC20 as the USDT withdrawal network in the sender platform. Then, type in the withdrawal amount, and click Withdraw.
How to Withdraw?
There are two main types of withdrawals. One is on-chain withdrawal, and the other is an internal transfer. Here we take USDT as an example to demonstrate the on-chain withdrawal process.
1. On the top right of the BitMart homepage, set the cursor on your email – Withdraw.
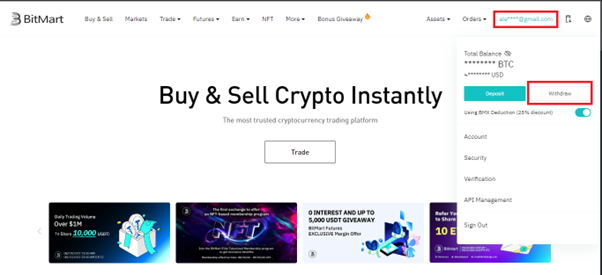
2. Choose the crypto(USDT), click Withdraw and select Send via Crypto Network.

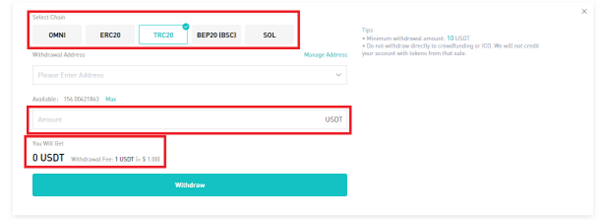
3. Choose the network(TRC20), paste the address, and enter the amount. Then click Withdraw.
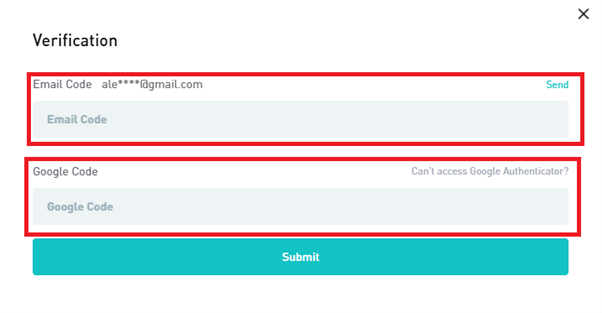
4. After clicking Withdraw, fill in the Verification of Google Authenticator, and an email code sent to your email. Then, click Submit.
Note: When selecting a withdrawal network, please keep the deposit network in other exchanges or wallets consistent with the one in BitMart (e.g., both are USDT-TRC20), or the withdrawal will be lost.
ToyHubUSA: Adult Sex Toys for Men & Women Online Store It makes them relax, they need to understand their bodies Read more
Sex Toy Sex Store Sex Toy India Online Sex Toy Prostate massagers are specially designed to stimulate the prostate gland, Read more
Sex Toys Luxury Vibrators Dildos Before you start shopping, have a candid convo with your partner, says Lisa Finn, a Read more
Replica Hermes Accessories Collection I recently stopped into the Steve Madden store to see these sandals in person and they Read more

